Tuesday, November 27, 2012
2012 Camry P0456
Ahhhh... the dreaded evap system DTC P0456.... don't you just love those evaporative emission system codes? They don't affect the performance of the car, but they turn the check engine light on anyway, and they can be highly annoying. I haven't seen many problems with the 2012 Camrys at all since they were introduced, and today I got the first I've seen with an evaporative emission system very small leak code P0456. Of course the first place I checked was the gas cap, and to be honest, its hard to tell if these things are locked down correctly, even when they were delivered from the factory. Toyota, for one reason or another, has changed gas cap designs. Now, instead of mulitple audible clicks when locking down a gas cap by turning it clockwise, the cap only makes one click to indicate that it's tight. Well, even when these caps are working correctly, its hard to tell if they are tight enough because of the 'one click' type action. First, I just cleared the code and performed an evap self test with a scanner and re-tightned the gas cap. The code returned, so I knew the cap wasn't loose but I still suspected that there was something wrong with it. So, before I proceeded to more complex evaporative emsission system diagnostics, I put a new gas cap on the car as a hunch and performed another evap self test. This time the evap system self test passed, and I knew for sure that the old gas cap was bad. Unfortunately, it appears that diagnosing these newer gas caps is going to be a bit tougher than the old ones. The older style gas caps were pretty easy to diagnose most times: they either locked down or they didn't. I wish I could say that I had a more scientific method to diagnosing this problem, but sometimes all you have to fall back on is experience and an educated conclusion as to what the problem is, and then replace the part based on that conclusion.
If you don't have a scanner to perform an evap self test, a code reader should be able to clear the code for you once you replace the gas cap. The car's ECU will automatically perform another evap system self test within a couple drive cylces. If the check engine light doesn't come back on within a few drive cycles, you'll know that you fixed the problem.
The absolute worst cabin filter I've ever seen

One Quick Tip When Replacing The Water Pump on Rav4 with 2AZ-FE Engine
I don't have a picture accompanying this quick tip, but for any do it yourselfer out there who is replacing the water pump on a Rav4 with a 2AZ-FE four cylinder engine, I have a tip that should save you time and aggravation. Just about anyone with a 2AZ-FE engine seems to have to replace their water pump at one time or another, so this might come in handy... Before you attempt to loosen then engine drive belt by pulling the belt tensioner clockwise, remove the passenger side motor mount and the bracket that it bolts into first. Without removing these items, it is nearly impossible to access the belt tensioner, even with fancy professional serpentine belt tensioner tools. (The service manual omits this step, as it's just something I had to figure out for myself. The reason that this step is omitted is because it is possible to disengage the belt tensioner without removing the bracket and motor mount, but you'll probably end up with some busted knuckles and a bar of soap in your mouth if your mother is around. Just because it is possible, doesn't mean that it should be done if there's an easier way to do it:-) If you remove the motor mount and the bracket it bolts into, the serpentine belt tensioner is easily accessible with a long 3/8" ratchet and 19mm or 3/4" socket. Once you have the belt removed, all you will need to do is remove the alternator and then the water pump is very easily accessible for removal. If I run across one of these Rav's in the near future, I'll add a pic to this article so you can see what I'm talking about.
Monday, February 14, 2011
Cabin Air Filter Replacement 2006 Toyota Avalon
Most late model Toyota automobiles are now equipped with cabin air filters. Many people neglect these filters, as they are easily forgotten. Regular replacement of cabin air filters can help prevent annoying odors from developing in your car, as well as keep the air that you are breathing inside your car clean. Most dealerships recommend cabin air filter replacement every 30,000 miles, or more often if you are operating your car in a very dusty environment.
This post is an example of cabin air filter replacement on a 2006 Toyota Avalon. The procedure for cabin air filter replacement is similar on the entire Toyota lineup. All you must do to gain access to the cabin air filter is to remove the glovebox. Once you remove the glovebox, you'll something that looks like this below. (minus the yellow arrows)

You'll need to press the cabin air filter cover retainer tabs inward towards each other. (Where the yellow arrows are pointing.) This will release the cover from the cabin filter housing, and you'll be able to pull it straight out. Once the cabin filter is covered, go ahead and pull the cabin air filter out too. Here's what you'll be looking at once the cabin air filter is removed.

As you can see below, the air filter in this car was quite dirty. (The replacement filter is on the right.) It is not uncommon to see filters even more dirty than this. Once the cabin air filter was replaced in the car, the interior air quality of recirculated air improved significantly.

This post is an example of cabin air filter replacement on a 2006 Toyota Avalon. The procedure for cabin air filter replacement is similar on the entire Toyota lineup. All you must do to gain access to the cabin air filter is to remove the glovebox. Once you remove the glovebox, you'll something that looks like this below. (minus the yellow arrows)
You'll need to press the cabin air filter cover retainer tabs inward towards each other. (Where the yellow arrows are pointing.) This will release the cover from the cabin filter housing, and you'll be able to pull it straight out. Once the cabin filter is covered, go ahead and pull the cabin air filter out too. Here's what you'll be looking at once the cabin air filter is removed.
As you can see below, the air filter in this car was quite dirty. (The replacement filter is on the right.) It is not uncommon to see filters even more dirty than this. Once the cabin air filter was replaced in the car, the interior air quality of recirculated air improved significantly.

Thursday, February 10, 2011
2007 Toyota Avalon P0500

Had a 2007 Toyota Avalon brought into the shop displaying an ABS light. After performing a road test, I noticed that the speedometer was mostly inoperative. It would bounce up and down erratically, but then later the speedometer would do nothing at all. I scanned for diagnostic trouble codes, and a P0500 (vehicle speed sensor) was registered in the powertrain control ECU. Here's a pic of the warning light on the instrument cluster:

The ABS ECU would not respond whatsoever to an attempted trouble code scan. This was the first indication that the ABS ECU was bad. After disconnecting the ABS ECU harness connector, the speedometer stopped its erratic operation. This was a second indication that the ABS ECU was defective. After confirming that the ABS ECU was receiving battery voltage at the harness connector, and a good ground, the ABS ECU was condemned. Here's a pic of the ABS ECU with the harness connector removed:

The hydraulic ABS actuators and the ABS computer are all built into one integral unit. To remove the ABS ECU (electronic control unit), the brake lines had to be removed from the ABS ECU. Once the brake lines were removed, brake fluid leaked everywhere, so if you are tackling this same job, it wouldn't be a bad idea to have a catch pan under the car before removing the ABS ECU. Also, the use of a line wrench instead of an open end wrench will assist with easily removing the brake lines from the ABS ECU.

Remove the 3 bolts holding the ABS ECU to the body of the car, and the ABS ECU can be wiggled past all of the brake lines.
Once the new ABS ECU is installed into the vehicle, you will need an assistant to help pump the brakes to bleed all of the air out of the brake system. On this vehicle, I initially snugged all of the brake lines into the ABS ECU, and then cracked them open to bleed the air out one by one, as an assistant pumped the brakes for me. Luckily for me, the air bled out quickly. (For the replacement of some ABS modules, the air can be really tricky to get out of the system.)
Upon intial startup of the vehicle after the ABS ECU replacement, the ABS light immediately cleared. I didn't even have to clear it with a scan tool. A post repair road test revealed that the ABS was functioning normally after ABS ECU replacement. Case closed on this Avalon.
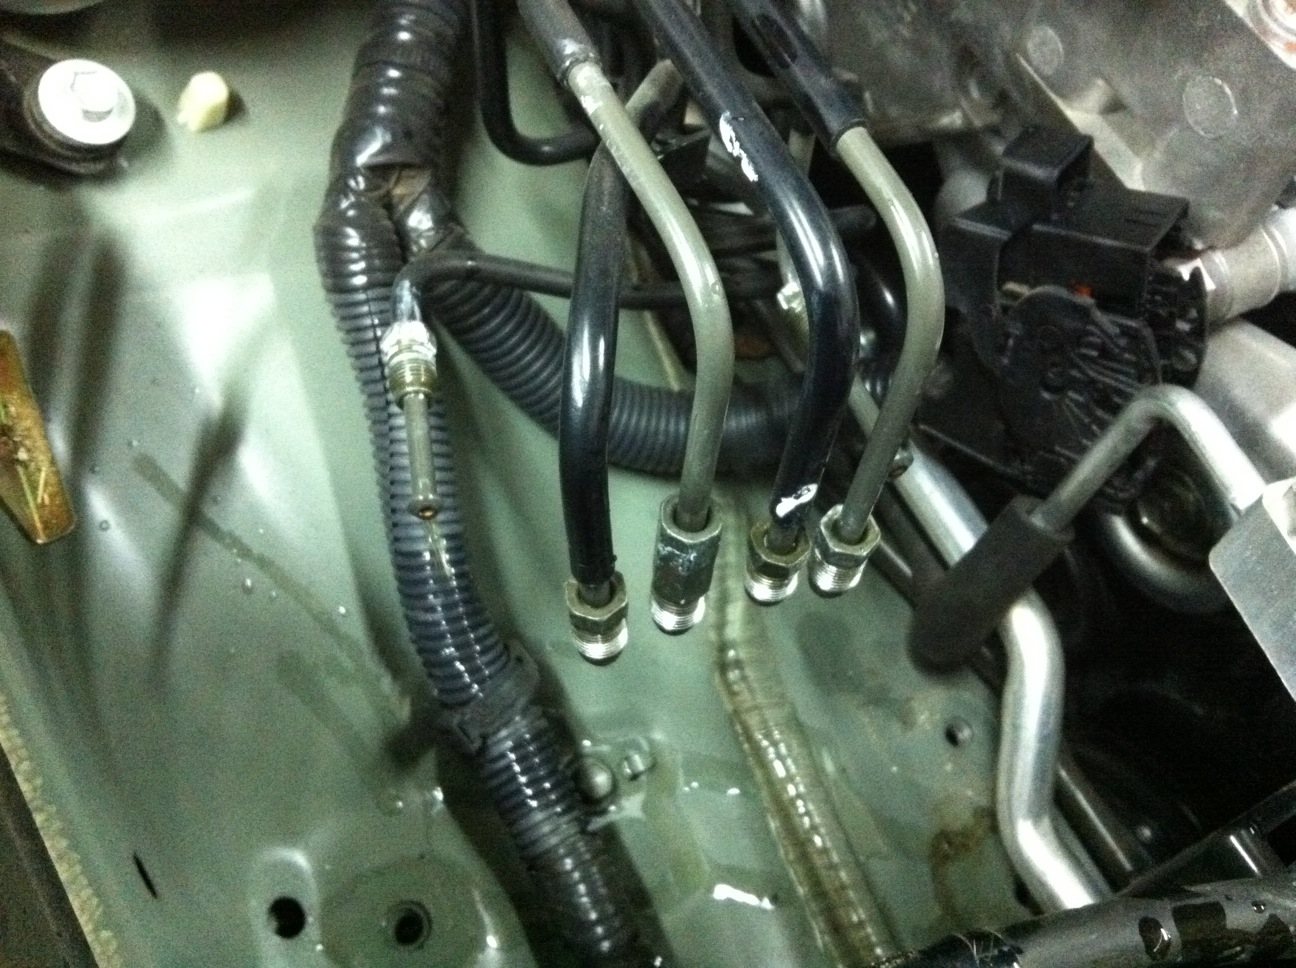
P043E, P043F, P0441, P0455, P2401, P2402, P2419 DTC's on 2011 Toyota Tundra

Today, a brand new Tundra with 711 miles showed up at the shop with a multitude of evaporative emissions diagnostic trouble codes. These trouble codes all relate to malfunctions in the evaporative control system, the emmissions control system that traps gasoline vapors and prevents them from being vented into the atmosphere. Here is a screenshot of the trouble codes:

While it is unusual for a new Toyota to have any such problems, they do occur from time to time. The source of the problem was quickly traced to the charcoal canister (which has the leak detection pump and various other electronics built into it). 99% of the time, on just about any late model Toyota, if there are P2402 and a P2419 DTC's set at the same time, the vehicle is going to need a charcoal canister. Replacing the canister is a simple process. The canister is located behind the gas tank, towards the rear of the truck. Here's what it looks like prior to removal:

Next, you will need to disconnect any of the three emissions hoses connected to the charcoal canister, and then you will need to disconnect one electrical connector. After all the hoses and electrical connector have been disconnected, remove the 4 bolts holding the canister to the crossmember. The canister will then be ready for removal.

Installing a new canister is easy and straightforward, the procedure is exactly the reverse of removal. This repair would have been quite expensive if the truck was not under warranty (a little over $900 for the part alone). Here's a picture of the failed evaporative emission system charcoal canister.

Wednesday, February 9, 2011
Headlights on All The Time On 2006 Corolla
I've had several Corolloas come in lately all with the same problem. The headlights will not turn off, which causes the battery to go discharge while the car is parked. Fortunately, the fix is simple most of the time. The most common cause for headlights staying on all the time is a faulty headlight switch. Here's the repair procedure on a 2006 Corolla.
The first thing I did was to disconnect the battery and hook up a battery charger to the battery because it was completely dead.

The second step to replacing the headlamp switch is to remove the airbag assembly. Do not try to remove the air bag assembly prior to disconnecting the battery. Remove the two bolts holding the airbag into the steering wheel. Once the bolts are removed, you will be able to pull the airbag straight out. Be careful, because the airbag harness will still need to be unplugged from the airbag.

Use a small pick or pocket screwdriver to disengage the wire harness clips from the airbag assembly, and remove the airbag from the steering wheel. Next, remove the nut holding the steering wheel to the steering column. Once the nut is removed, use white-out or a marker to mark the position of the steering wheel prior to removal.

Next disconnect the wire harness connectors connected to the steering wheel. Use a steering wheel puller to pull off the steering wheel off the steering column. Below is what you'll be looking at once the steering wheel is removed.

Next remove the three phillips scews which hold the plastic steering column shroud in place. It's a two piece cover, and it snaps apart and snaps back together, so you might have to pull a little on it. Here's what you'll be looking once you've got the column cover off.

Next, you will need to remove the clockspring. This is a simple procedure. Just disconnect the two electrical connectors going to it, and disengage the plastic clips that hold the clockspring to the steering column. Make sure not to allow the clockspring to rotate after you've removed it, and also make sure to reinstall it back into the same position once you are reassembling the vehicle.

The final step to getting the old headlight switch out is to disconnect the the wire harness connector to the headlight switch and disengage the plastic clips that hold the switch to the steering column. Once the clips are disengaged, the headlight switch will pull right out.

Installation of the new headlight switch is reverse of disassembly. Just make sure to double check that you don't leave any wire harness connectors unplugged, and make sure to reinstall the steering wheel back into the same position it was before the wheel was removed.

The culprit: faulty headlight switch for 2006 Toyota Corolla

Subscribe to:
Posts (Atom)